 DOC
Quick start
From a fresh install to a person working in a delegated account, in five steps.
This is the shortest path from the plugin installed to a person using a delegated account. Each step links to the guide that goes deeper.
-
Install the plugin and give people permission. Install it, then create the role that holds
local/delegateaccount:useand assign it to the people who will use delegations. -
Open the management page. Go to Site administration > Users > Accounts > Delegated accounts. The Authorised users tab lists everyone who holds the permission.
-
Create the delegation. Select Create delegations, choose the authorised user and the account, set when access starts and, if you want, when it ends.
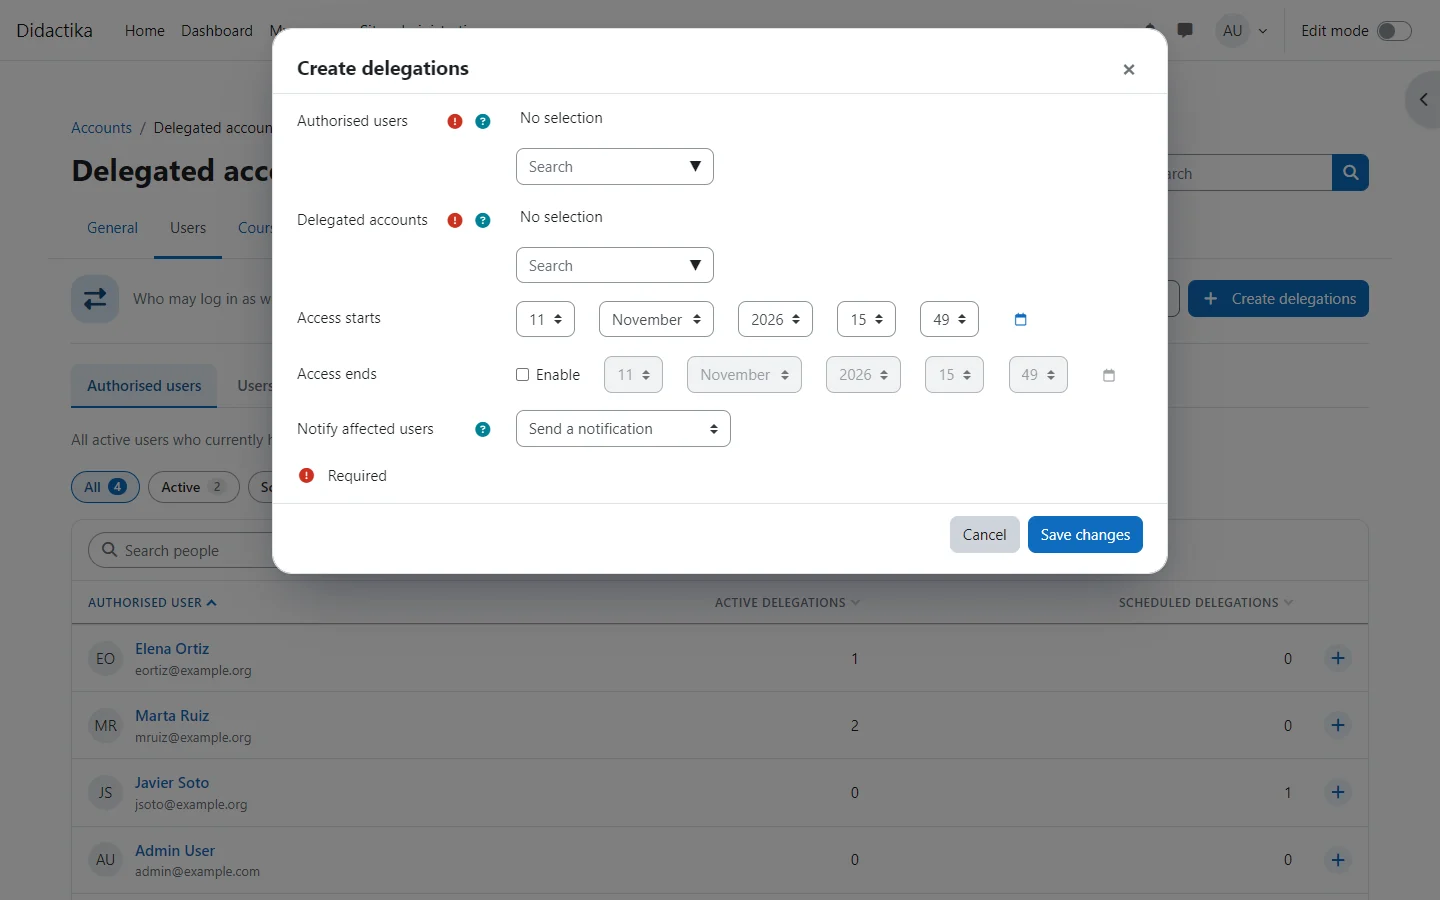
Who may open which accounts, and for how long. -
The person opens the account. They find Delegated accounts in their user menu and choose the account. How they do it.
-
Review what happened. Every event is recorded under both names. Open the activity report of the delegation to see it.